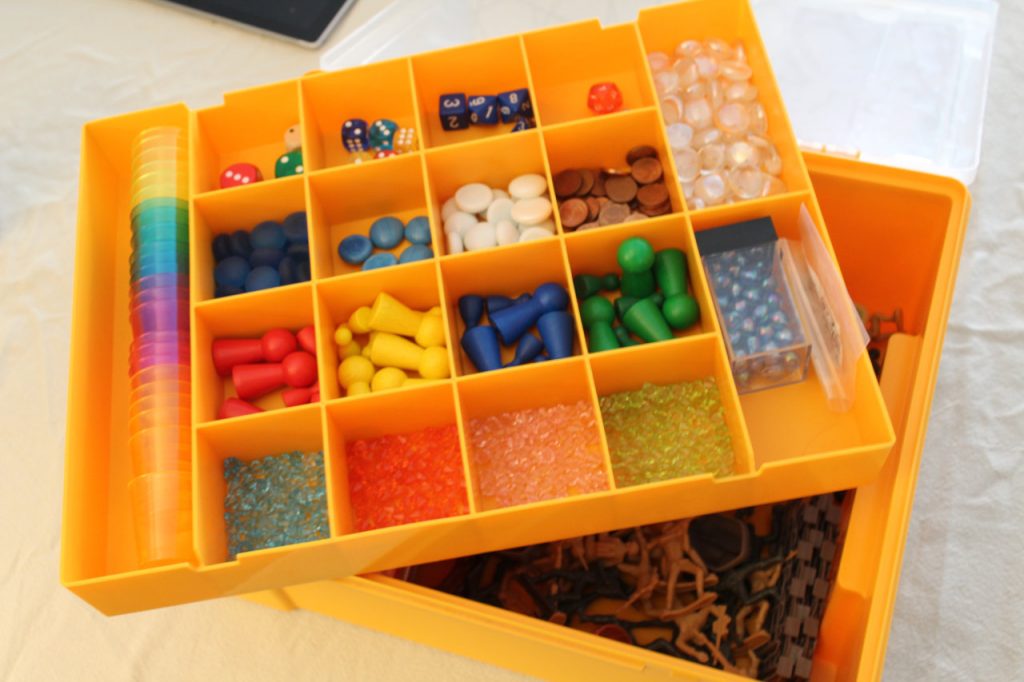
Whether you’re looking to improve your game design chops or just trying to get your start in the field, you should consider building a paper prototyping kit for yourself. Having this kit means you can easily try out your ideas and get other people excited about them.
In this article I will explain what you should put in your kit and you can go about acquiring the parts.
Paper prototyping is the practice of testing out game design ideas outside of a computer and without the involvement of engineers, on paper if you will. It is used by designers to make their ideas playable as fast as possible, which allows them to both find the fun in their design quickly and catch design mistakes before they become expensive engineering problems. I’ve personally used my paper prototyping kit for many years, both professionally for large game projects and for smaller personal projects.
Thankfully, building a paper prototyping kit does not have to break the bank. You can often find common parts like dice and playing cards in discount stores. And if you have one or more unused board games lying around, you can simply scrounge them for parts. But what’s most important is that you give these parts of your kit a new home and keep them together in a box.
So let’s start building your kit by acquiring a suitable container!
Box
Used for: Keeping your parts organized
Acquisition cost: About 40 euros for a new 20L container
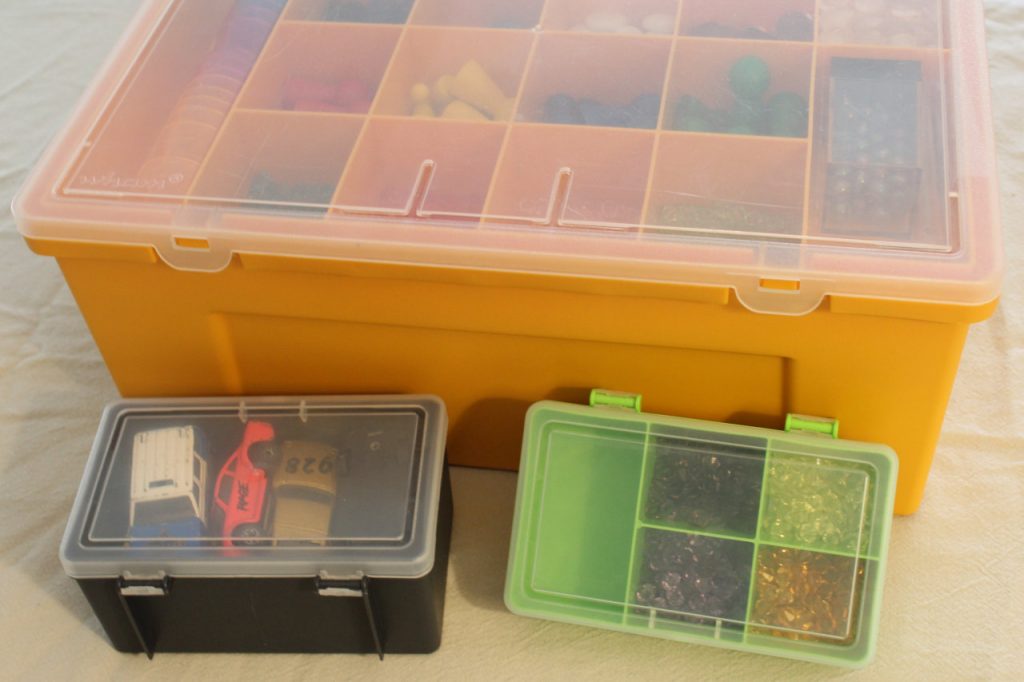
The box is the most important aspect of your paper prototyping kit. It keeps the parts out of your hair and makes sure they’re always ready to be used when inspiration strikes.
A good box is one with plenty of storage space that can be carried with relative ease and has at least some subdivisions. You want it to store many small items in different categories, while also being able to transfer the kit between home, school, work, and events.
If you want to get started right away, you can take a cardboard box like a shoebox and add your own cardboard subdivisions. Alternatively, you can do what I did, which is to buy a simple plastic toolbox from your local home improvement center.
I keep a number of smaller boxes inside of mine that I use for specific prototypes and additional parts.
Six-Sided Dice
Used for: Random number generation
Examples: Stat generation, available moves on the board, player health
Acquisition cost: About 2 euros for a set
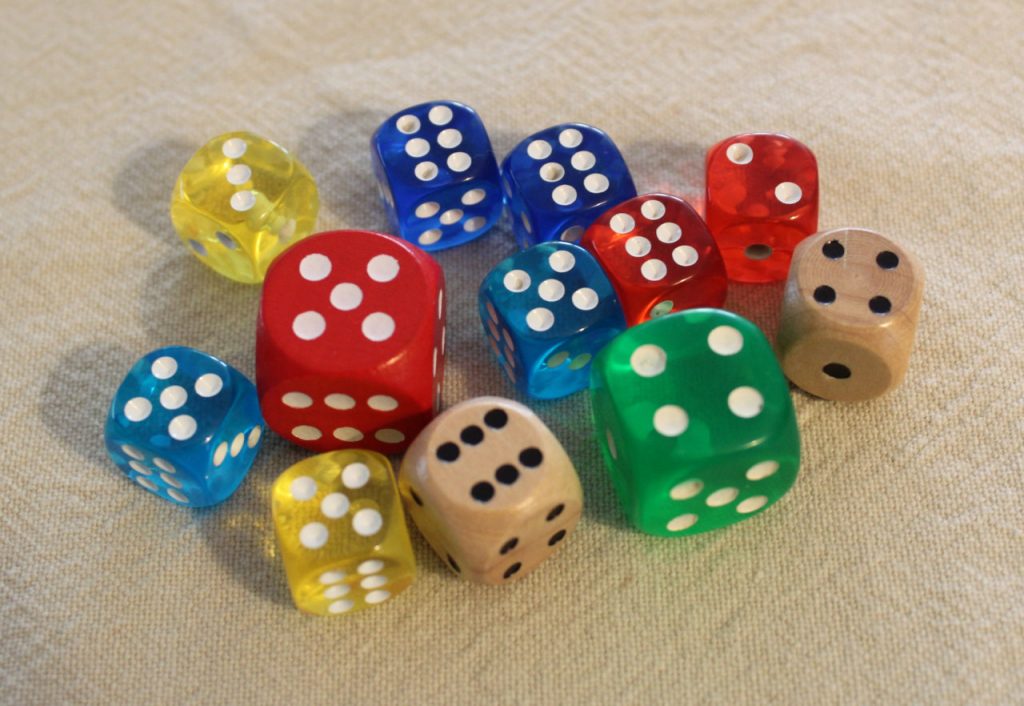
The trusty six-sided die is a staple of many board games. Used mainly for random number generation, you can also use them to track persistent stats if you just look at the number on top.
What I recommend for your kit is getting a set of colored dice. This allows you to roll multiple dice at once and apply them to different stats at the same time.
Combining two or more six-side dice gives you a nice probability curve centered around the median value. For example, when rolling two dice, the chance to roll 2 is 1/36 and the chance to roll 7 is 1/8. If you need an even distribution of random numbers, consider using Exotic Dice instead.
If you don’t have any dice available, you can use Sophie’s Dice for rolling dice of any kind.
Playing cards
Used for: Finite random numbers
Examples: Random events, actions in hand, monster deck
Acquisition cost: About 1 euro
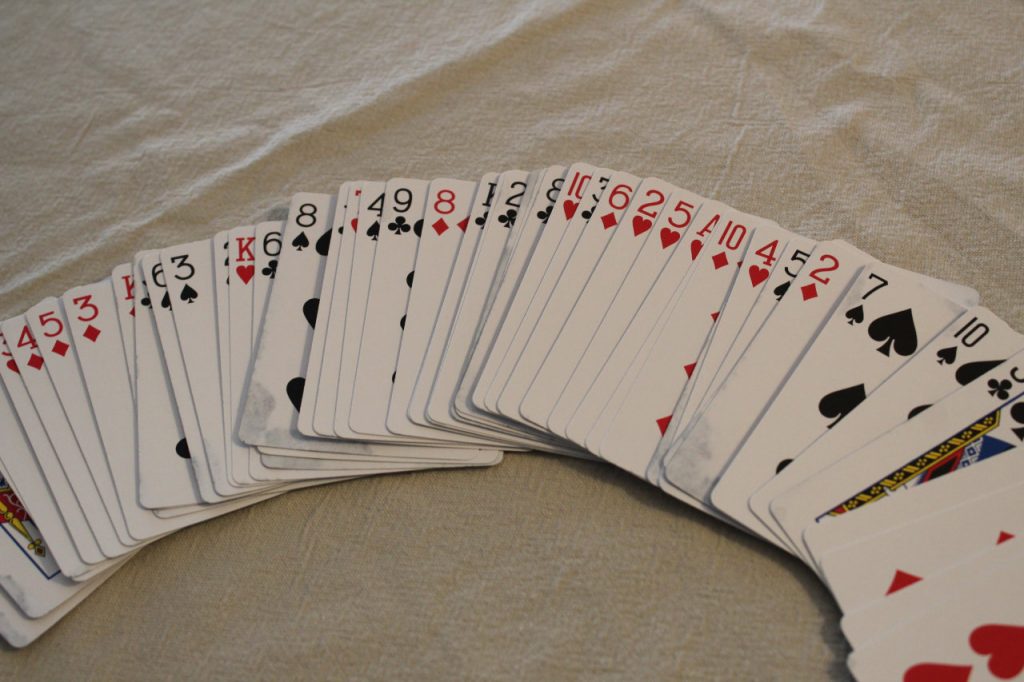
The cards you’re most likely thinking of are the French-suited card packs, which is exactly what I want you to think about. There are 52 cards in a pack, divided into four suits with 13 cards each. And the amount of combinations those cards give you is truly staggering.
If you don’t have a set at home, you can get them cheaply from convenience stores, gas stations, or your grandparents. I’m using a higher quality set myself, which is printed on cotton card stock with a glossy finish. Sadly, I managed to get water damage on them, but that hasn’t stopped me from using them for prototyping!
What’s important to consider for your own prototypes is that playing cards provide a finite set of random numbers. When you take a card out of a deck, you are taking it out of the pool of available random numbers. This is a different type of randomness than rolling a Six-Sided Die, which will happily give you the same random number multiple times in a row.
When using playing cards in your design, you will most likely find yourself making a conversion table. For example, when using them as monster cards, you would look up the King of Spades in your table to find that you’re actually fighting an Armored Skeleton. It’s easy to iterate on this design by crossing out the value in the table and writing Lovable Skeleton instead. If this process becomes too cumbersome for your prototyping, consider printing custom cards on Cardstock.
Pawns
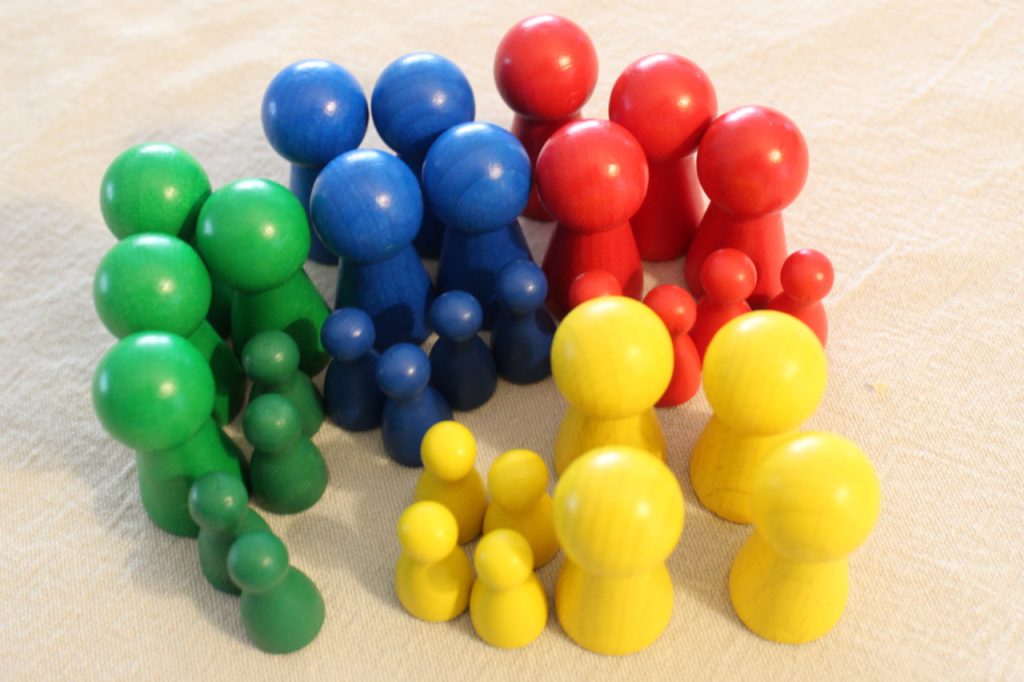
Used for: Player avatar on the board
Examples: Position on the board, actions taken this turn
Acquisition cost: About 3 euros for a set
Pawns are another staple of board game design. They are often used to give the player a physical presence on the map, but you can also use them to track what actions a player has already taken in their turn. Each player should ideally have their own pawn color, which means you can have multiple players interacting in the same space.
Anything can be used as a pawn, but what makes it good for our purposes is if they can be moved easily with two fingers, can stand upright, and come in different colors or shapes. You can get simple wooden pawns from game stores or scrounge them from old board games.
What pawns are not good for is tracking multiple player stats at the same time. You should consider using Beads instead for that purpose. And if the orientation of the pawn on the board matters in your design, you might find yourself better off using Toy Soldiers instead.
Beads
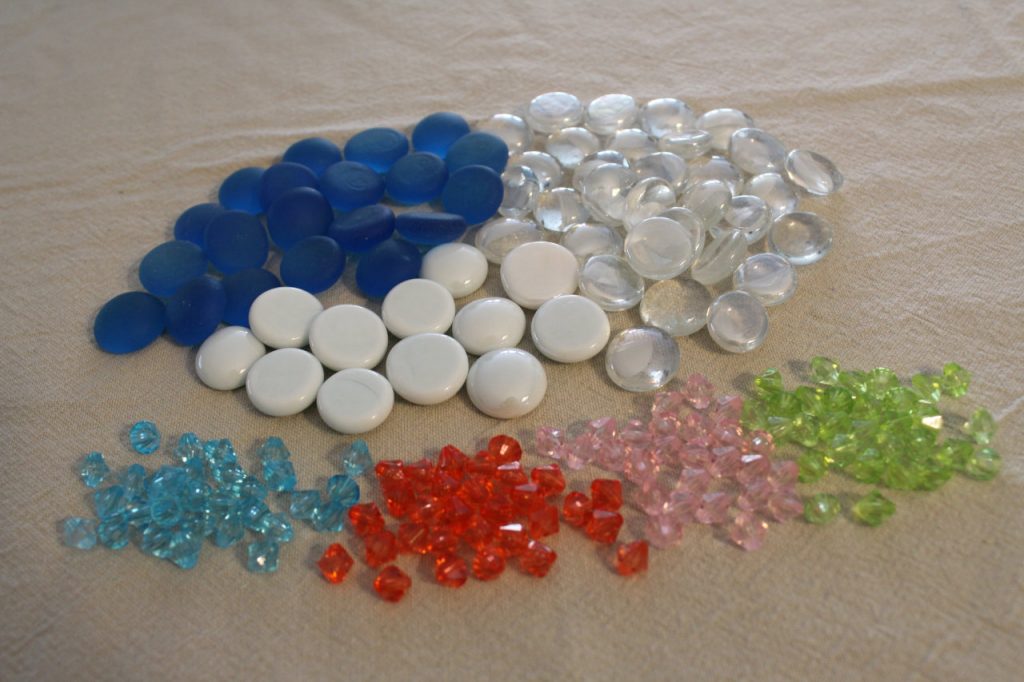
Used for: Small numbers
Examples: Monster health, mana left for spells, energy in turn
Acquisition cost: About 1 euro for a pack
When you are dealing with small numbers, it makes sense to track them using beads. They provide a visual indication of how many resources you have to play with and you can easily group them on the table. They often come in different colors, so you can for example use red beads for health and blue ones for mana.
Beads are cheaply acquired from any hobby store. I bought three packs of plastic beads and separated them into the different colors for my kit. However, what you want to mindful of is that they don’t roll off the table when using them for prototyping. Diamond shapes are much better than round ones in this regard.
The downside of beads is that they are not easy to count in large quantities. If your numbers are large, you are often better off using Coins instead. They can also be small and fiddly, so if you’re using them for player positions on the board, you might want to use Pawns instead.
Exotic Dice
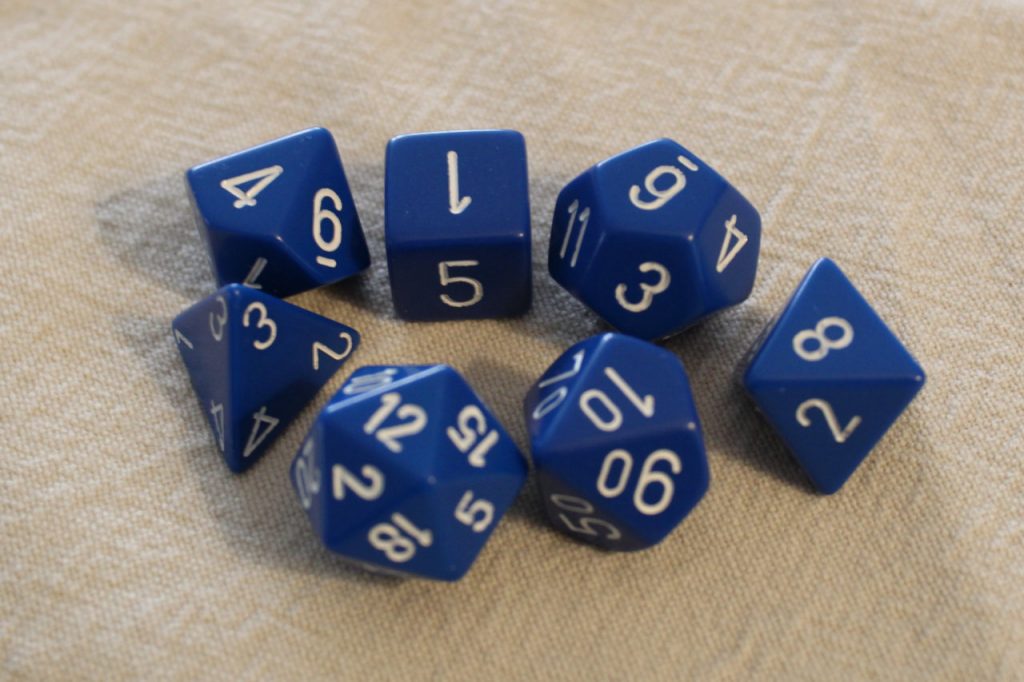
Used for: Random number generation
Examples: Damage modifier, bomb countdown, monster health
Acquisition cost: About 10 euros for a set
More expensive than regular six-sided dice, these dice give you an even spread of random numbers. The chance to roll 1 with a 20-sided die is 1/20 and the chance to roll 1 on a 4-sided die is 1/4.
Having different-sided dice in your paper prototyping kit also allows you to combine them into more interesting distribution graphs. For example, combining a 6-sided die with a 12-sided one will give you a same maximum of 18, but equalizes the probability of rolling 7 to 13. You can use a site like AnyDice to figure out a probability curve that works for you.
If you don’t want to invest in these dice, you can also use an app like Sophie’s Dice to generate any dice shape and combination of dice you want.
Cardstock
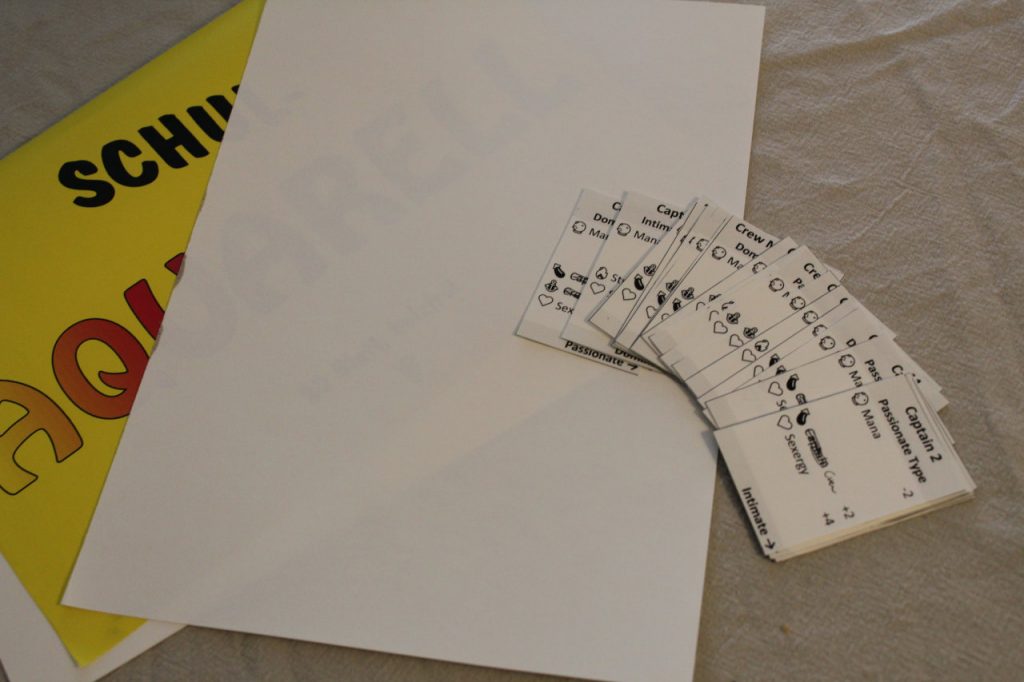
Used for: Printed card prototypes
Examples: Random map events, monster deck, equipment table
Acquisition cost: About 1 euro for twenty sheets
When your design requires cards, you want to be able to hold them in your hand. Printing out your cards on heavier paper prevents them from creasing and folding too much when playing and you can just use the cheap inkjet printer you have at home.
What you’re looking for is paper that is thicker than what you would normally use in an office printer, but not so thick that it’s actually just cardboard. Regular paper is 80 grams/m², what you’re looking for is about 250-300 grams/m².
A trick I learned from my wife is that you can get this type of paper cheaply from discount stores if you look for “watercolor paper”. Much to my wife’s chagrin, this paper isn’t actually usable for painting watercolors, since the cheap stuff is made out of wood pulp instead of cotton. Paper made out of wood pulp buckles and warps when it comes into contact with water, which is exactly what you don’t want when you’re trying to make a watercolor!
However, before committing to printing out custom cards, I always recommend trying to make your design work with Playing Cards first. Unlike everything else in the paper prototyping kit, cardstock is a finite resource that can slow down iteration on your designs. It’s both cheaper and easier to print out a new conversion table instead!
Coins
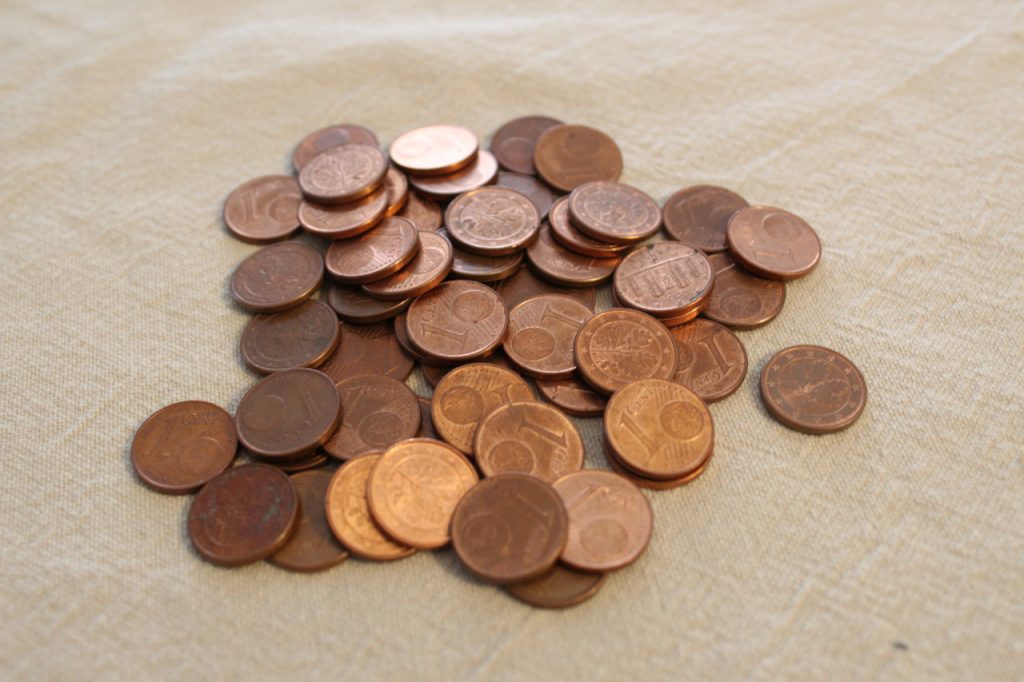
Used for: Large and/or stackable numbers
Examples: Shopkeeper money, hyperdrive energy, woodland creatures in area
Acquisition cost: Get 100 for 1 euro at a bank
Referred to as “two-sided dice” by annoying people everywhere, I would argue that coins are much more useful for tracking large numbers. Because they are stackable, they are easier to count and easier to divide than Beads. Another advantage is that players can intrinsically grasp them if you use them as money in your design.
Their disadvantage is that they only come in one color. If your numbers are small, but you have to keep track of a lot of them, consider using Beads instead.
And not to belabor the point, but if you need a binary number generator, you can just take a die and call 1-3 “heads” and 4-6 “tails”. There, I said it.
Toy Soldiers
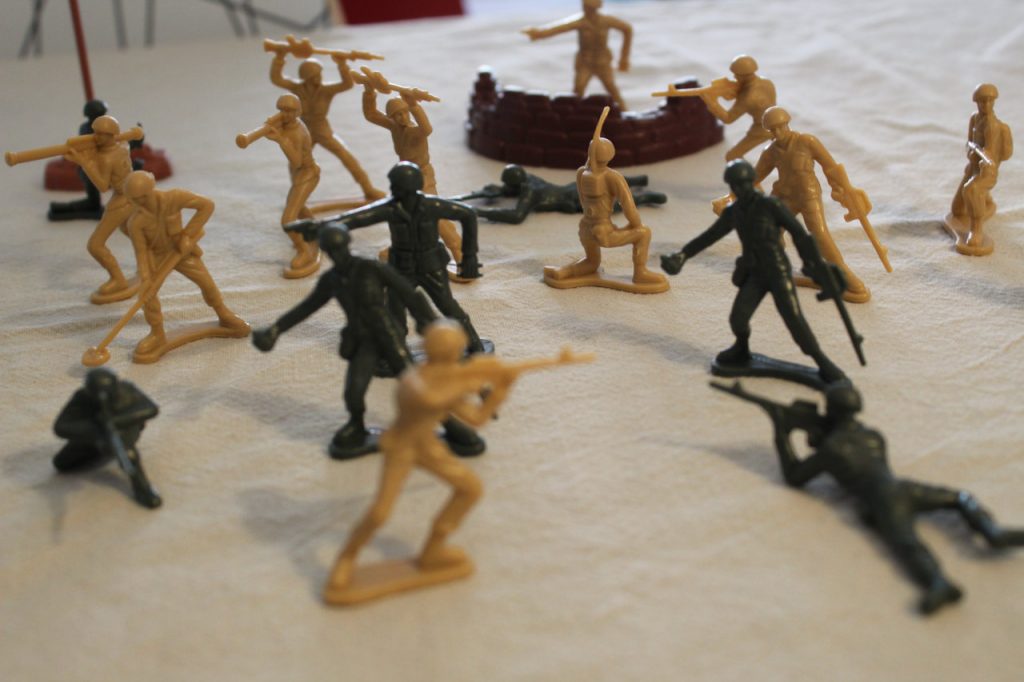
Used for: Position and orientation on a map
Examples: Clashing armies, guard line of sight
Acquisition cost: About 20 euros
Toy soldiers come in many shapes, but don’t have to be used for violence in your design. With their fit firmly planted into plastic, they provide both a position and an orientation on the map. This makes them different from Pawns, which can only give you a position.
Their downside is that they are quite large in comparison to other items in your kit, so it’s not as easy to swap out a pawn for a toy soldier as you might like. They also come in many shapes, but usually only two colors.
You can of course use LEGO minifigs as well, but I think this will be very pricey in comparison to buying a set of generic plastic figures from a games store.